Content
A 10,000-square-foot warehouse that wastes 20% of its floor space loses $6,000 a year in rent alone—even at a modest $3 per square foot. That figure ignores the hidden costs: pickers walking an extra 1,200 feet per order, shipment delays because the right SKU is buried, and inventory shrinkage from items crushed under improvised stacks.
Poor storage organization typically increases pick-path time by 30% and cuts usable capacity by up to 25%. Every wasted minute on the floor drags down throughput, and every unused vertical foot above head height is capacity you are already paying for. The flip side is just as measurable. Facilities that right-size their storage layout and adopt the right containers routinely recapture 15–20% more pallet positions without expanding their footprint. That often means postponing a costly lease extension or new build by two or three years.
Warehouse storage ideas are not about buying more racks. They are about choosing the right combination of vertical strategy, container type, and zone design that fits your actual SKU profile. Whether you run a 3,000-square-foot spare-parts room or a 100,000-square-foot distribution center, the goal is identical: put every cubic foot to work while keeping fast-moving items within arm's reach.
Not every improvement demands a capital request. The fastest returns often come from changes that cost less than a single pallet of shrink wrap. These five fixes can be rolled out in under a week, with most requiring only a tape measure, a label printer, and a weekend crew.
Most warehouses already own vertical cubic footage they seldom use. The decision is how to access it. Three distinct approaches dominate, each with a different cost profile and throughput outcome.
| Strategy | Storage Density Increase vs. Floor Stack | CapEx (per sq ft) | Annual OpEx (per pallet position) | Best Fit |
|---|---|---|---|---|
| Selective Pallet Racking | 300–400% | $5–$9 | $3–$6 | Wide variety of SKUs, FIFO inventory |
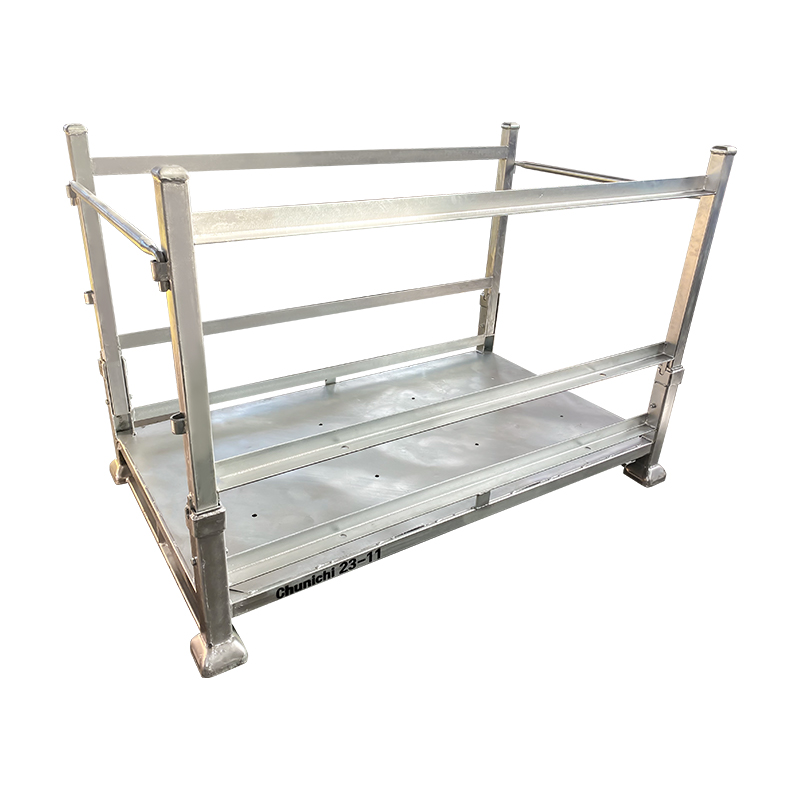
| Stacking Racks | 200–350% | $2–$4 | $1–$3 | Seasonal stock, low-turn items, flexible floor plans |
| Automated Vertical Lift Module (VLM) | 500–800% | $90–$150 | $12–$20 | High-value small parts, clean-room environments |
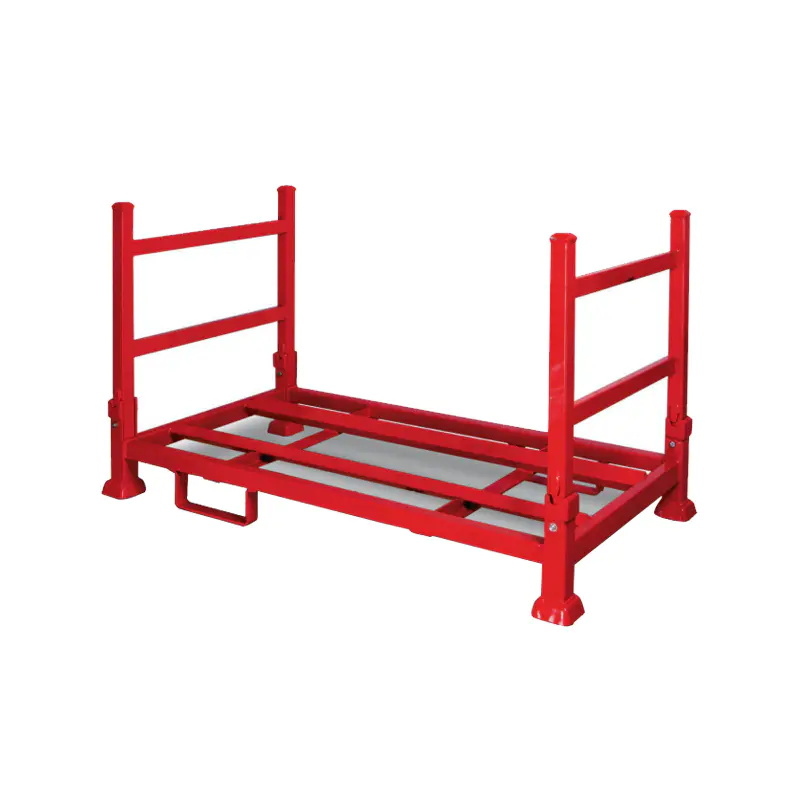
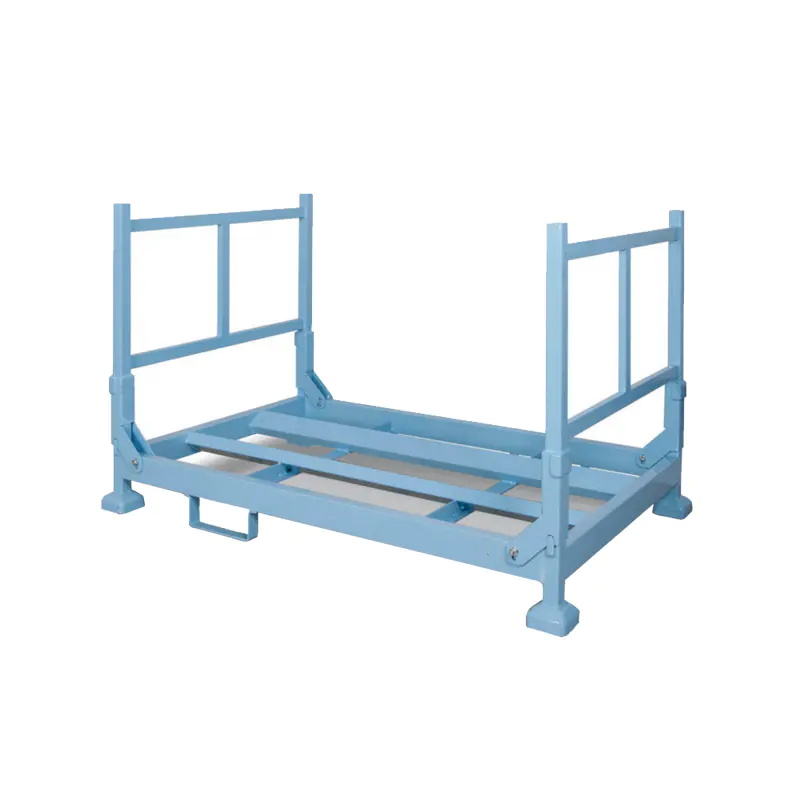
Selective racking remains the workhorse because it gives every pallet direct access. But it surrenders the aisle space—roughly 40% of the floor—to forklift travel. Stacking racks remove that constraint. They let you stack loaded frames up to four high without a mast truck, collapsing empty racks to 25% of their upright volume and removing aisles altogether for slow-mover storage. A facility that parks its off-season inventory on stacking racks can reclaim two full aisles for active picking, effectively increasing dynamic throughput area by 30%.
Vertical lift modules are the density champions. They compress inventory that would occupy 1,200 square feet of racking into a 150-square-foot footprint by retrieving trays vertically. The catch is the capital outlay: a single 20-foot unit runs $85,000–$120,000 installed. That makes sense only when floor space itself is exceptionally expensive—such as urban logistics hubs paying $15+ per square foot—or when labor savings from eliminating walking time justify the investment within 18 months.
For most mid-size operations, a hybrid model works best: racking for fast movers, stacking racks for overflow and seasonal goods, and no automation unless labor costs top $25 per hour. The tipping point is when order volume exceeds 500 lines per day and the walk-time payback math flips.
Storage containers are not interchangeable. A cage that works beautifully for bulk textile rolls becomes a safety hazard when loaded with 600-pound engine blocks. The table below matches container types to industry demands, factoring in weight capacity, fold-down ratio for return logistics, and typical dwell time.
| Industry | Recommended Container | Capacity (lbs) | Collapsed Volume (% of open) | Key Benefit |
|---|---|---|---|---|
| Automotive Parts | Metal Mesh Solid Container | 4,400–5,500 | 30% | Handles irregular stampings without sagging; stackable 4 high |
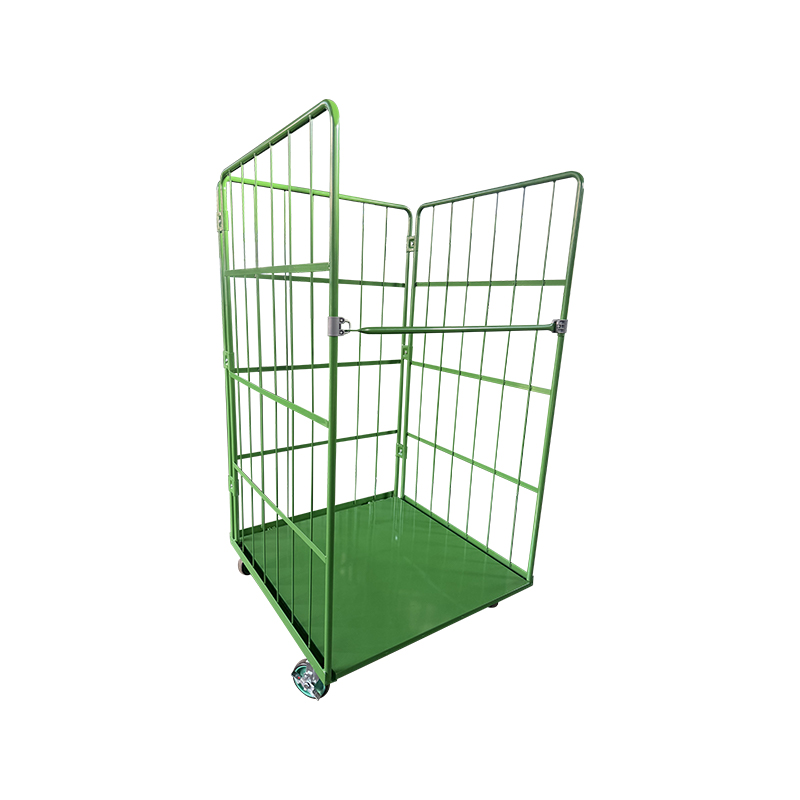
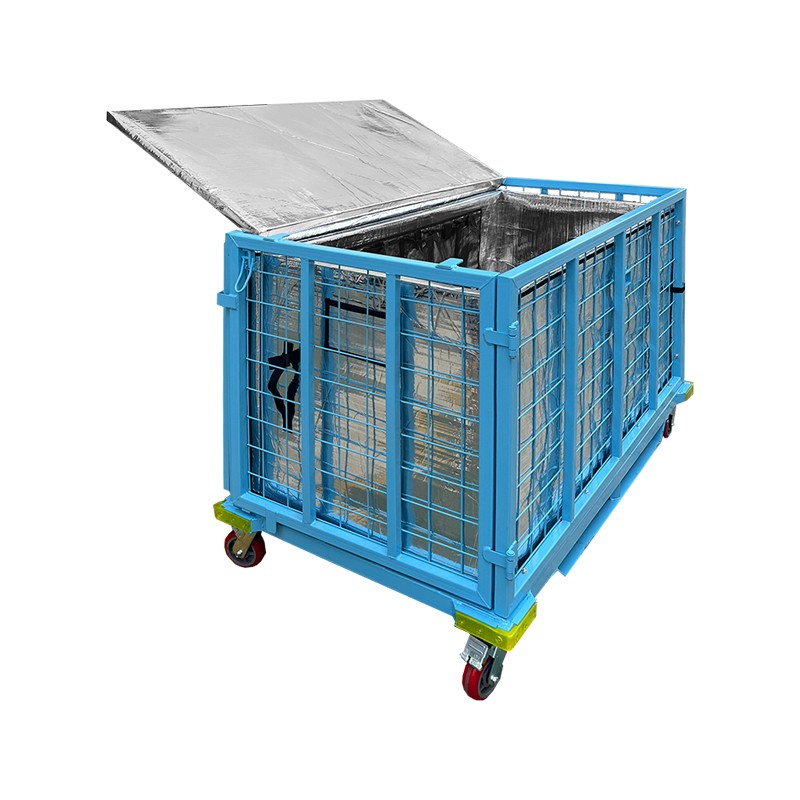
| E-Commerce Parcel | Wire Mesh Pallet Cage | 1,500–2,200 | 25% | Security and visibility; folds flat for returns |
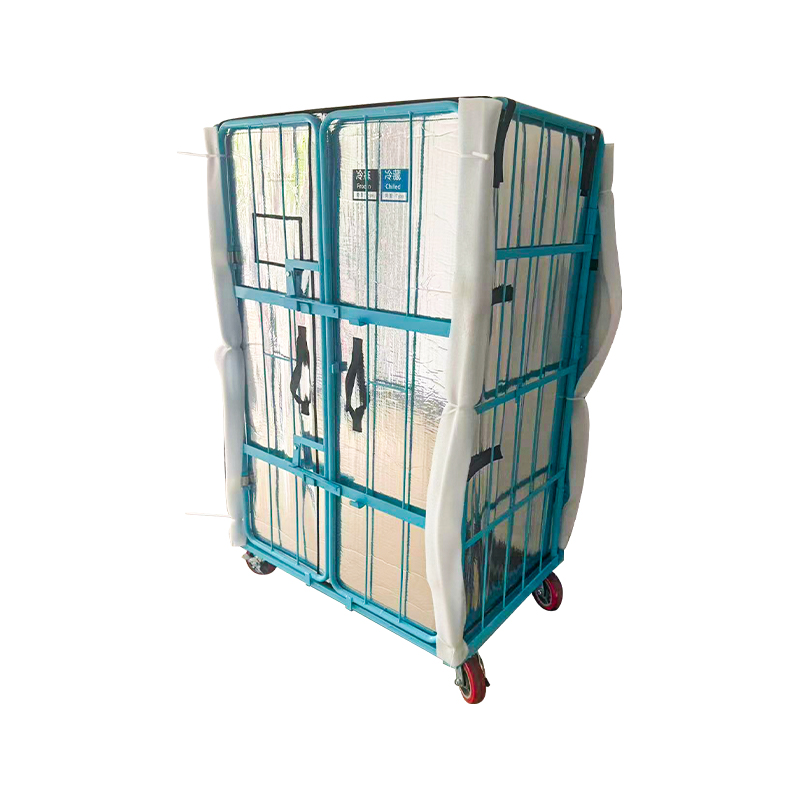
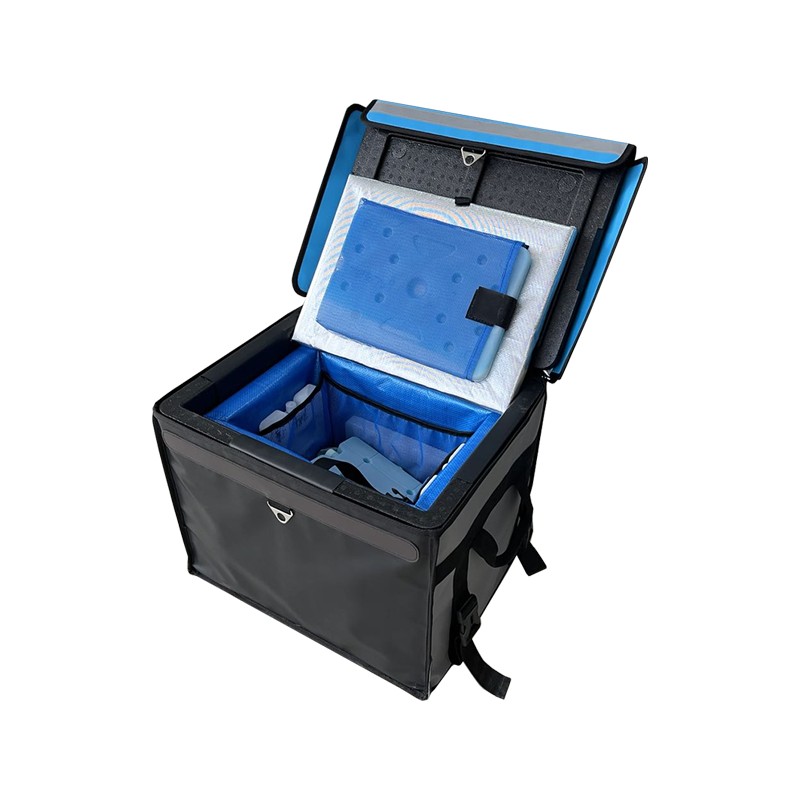
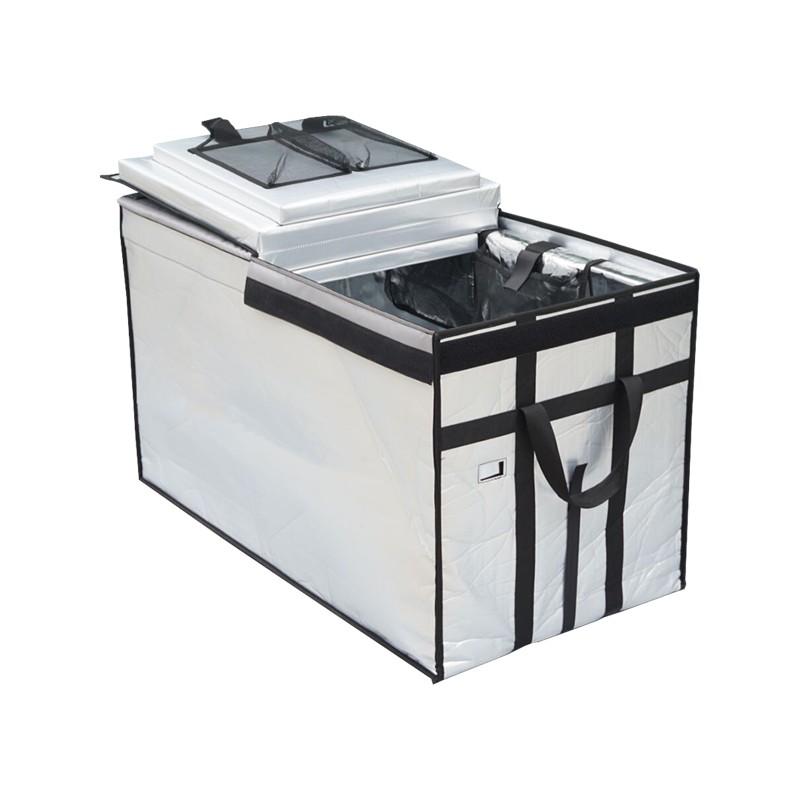
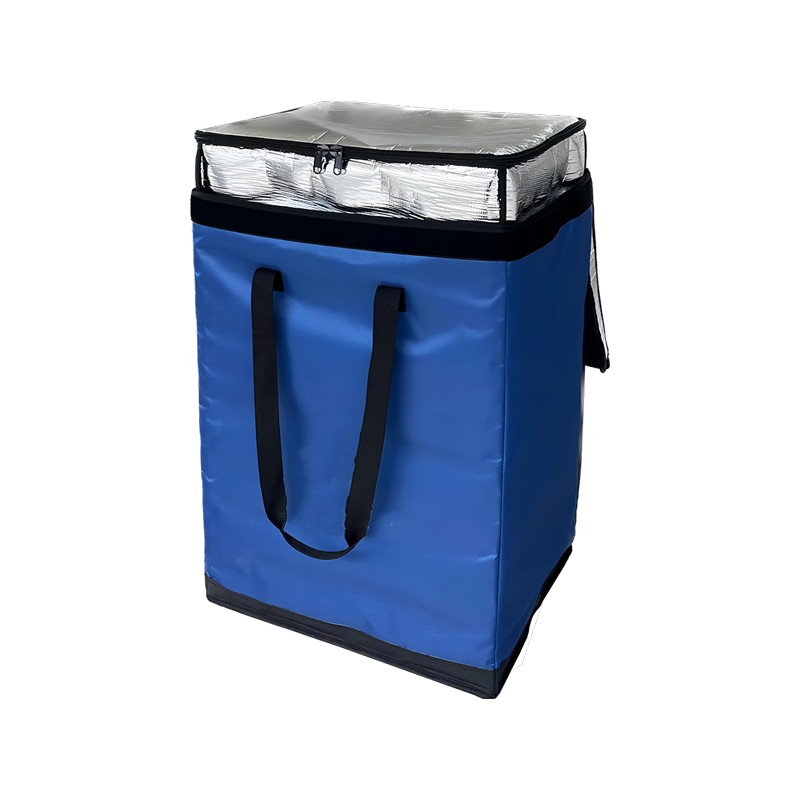
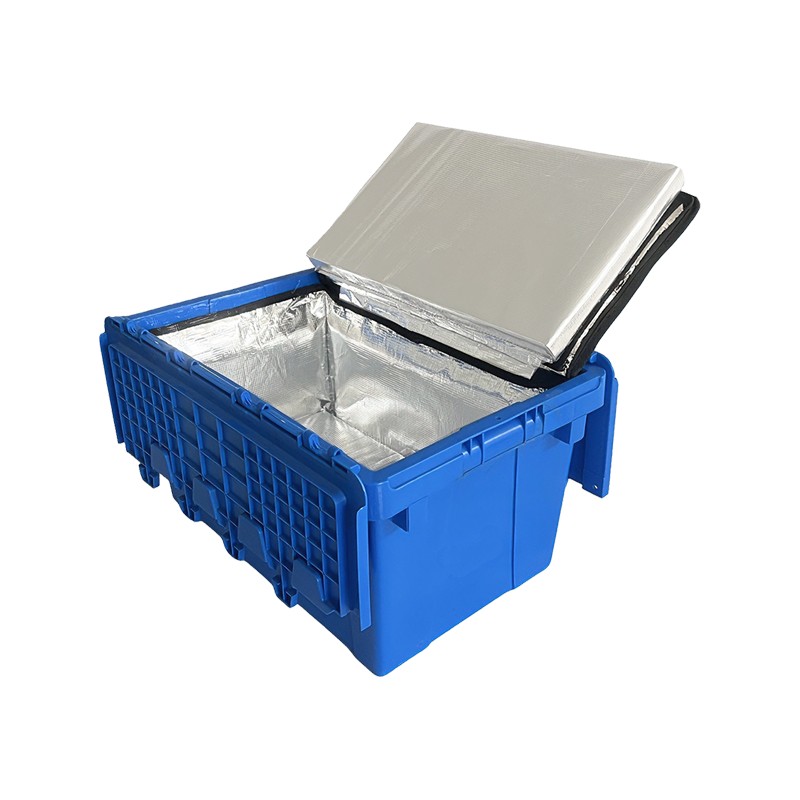
| Cold Chain / Grocery | Insulated Roll Cage Trolley | 880–1,100 | 35% | Maintains 2–8°C for 6+ hours; nests when empty |
| Retail & Textile | Foldable Steel Stillage | 2,200–3,300 | 20% | Replaces single-use pallets; stackable when loaded, collapsible for return |
| Tire Distribution | Collapsible Stackable Tyre Rack | 2,500–3,500 | 15% | Eliminates tire squashing; nests for seasonal storage |
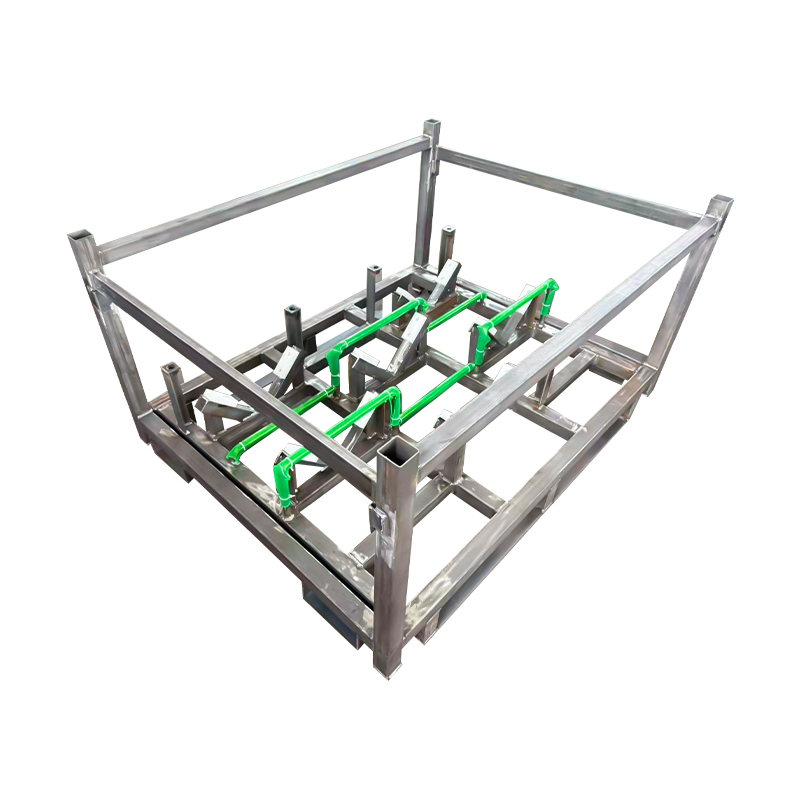
Automotive plants and Tier-1 suppliers face the toughest challenge: heavy, oddly shaped stampings and engine components that concentrate weight in small footprints. Standard pallet racking often fails because the load per beam can exceed 3,000 pounds. Purpose-built metal stillages and mesh-sided containers spread that load across a rigid base frame, allowing four-high stacking without racking uprights. That approach converts what would be 800 sq ft of static rack into a dense stack block occupying only 200 sq ft of floor grid.
E-commerce and retail warehouses deal with high SKU variety and erratic seasonality. Here, foldable steel stillages and wire mesh pallet cages deliver two crucial financial advantages: they eliminate the recurring cost of wooden pallets and reduce the return logistics footprint by 75–80% when empty. A 53-foot trailer that carries 240 empty wooden pallets can hold 960 collapsed stillages, slashing reverse-logistics spend almost overnight.
A well-chosen storage solution fails if the implementation ignores clearance zones, floor flatness, and material flow. Follow these seven steps in sequence to avoid the most common mistakes.
The most expensive mistake is ignoring aisle-width requirements during the planning phase. A 9-foot aisle that barely fits a reach truck will slow every cycle and chew up rack uprights within six months. Measure your equipment turning radius plus load length, then add 12 inches for driver margin. If the number is 14 feet, do not settle for 13.
Deciding between an in-house storage project and a professionally designed system comes down to three numbers: initial cash outlay, annual labor and damage savings, and the speed at which those savings repay the investment.
| Metric | DIY (Self-Sourced Racking + Containers) | Professional Design & Installation |
|---|---|---|
| Initial CapEx | $18,000–$22,000 | $35,000–$45,000 |
| Annual Labor Savings (vs. pre-optimization) | $7,500–$10,000 | $15,000–$20,000 |
| Annual Damage/Shrink Reduction | $2,000–$3,000 | $6,000–$9,000 |
| Payback Period | 18–24 months | 12–18 months |
| Day-to-Day Involvement Required | High (project management, install coordination) | Low (vendor manages all phases) |
The DIY route looks cheaper on paper, but it demands a project manager who understands load calculations and fire codes. One floor-anchoring error that damages a sprinkler pipe can erase $5,000 in a single afternoon. Professional firms carry that liability and typically shave 4–6 weeks off the total timeline because their crews work in parallel on multiple zones.
Still, for operations with a capable maintenance team and fewer than 500 active SKUs, self-sourcing stacking racks and wire cages often delivers a faster pocket-return. The key is to benchmark labor hours and damage claims for 90 days before the change, then track the same metrics for 90 days after. Only then will the real ROI emerge—by which time most managers have already moved on to the next project. Without a before-and-after audit, even a successful storage revamp looks like an expense, not an investment.
No article can replace a walkthrough by someone who spots that the recessed dock plate steals 30 pallet positions, or that your mezzanine uprights are rated for 30% more load than you are using. Off-the-shelf racking and containers solve 80% of the problem. That last 20%—the layout that fits around three structural columns and a low-hanging heater—is where the greatest savings sit.
If you are running out of space but cannot move, or if your picking accuracy is stuck below 96% despite new labels and zone markings, request a no-obligation layout review. A fresh set of eyes, armed with load data and a tape measure, will uncover at least one change that pays for itself in under six months.
Copyright © 2024 Shanghai Betis Logistics Equipment Co., Ltd. All Rights Reserved.
 Custom Metal Storage Cages Manufacturers

 English
 中文简体
中文简体 日本語
日本語